
Achieve more with ATAS for Phoenix Trader Funding
Get a free ATAS license and start your challenge
Registration
Get a free ATAS license and start your challenge

1. Register your ATAS account by filing the form above
2. Download and install ATAS for Windows
3. Launch the software using the login and password received by email after registration
4. Connect Phoenix Trader Funding account. No account opened? You can register it here
5. Evaluate your trading and get a funded account
More detailed instructions for ATAS installation you can find in our Knowledge Base.
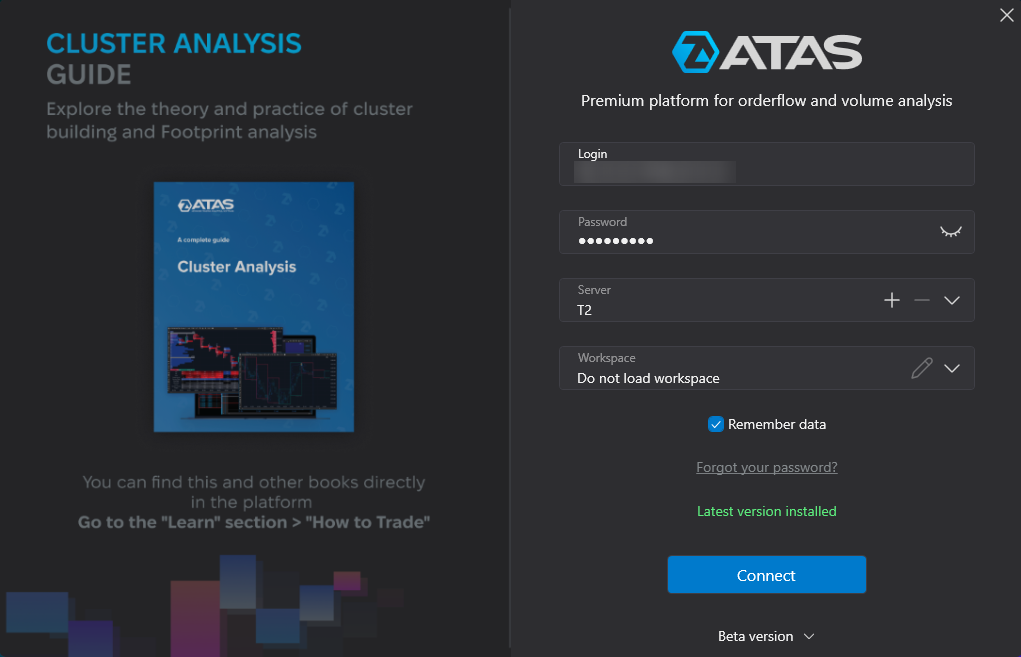
First, you should start ATAS to connect your Phoenix Trader Funding account.
On the Authorization window, enter your login and password received by email after registration in the form above.
⚠️ The login credentials from the atas.net website will not be valid.
You can connect your Phoenix Trader Funding accounts with Rithmic or dxFeed.
Rithmic connection
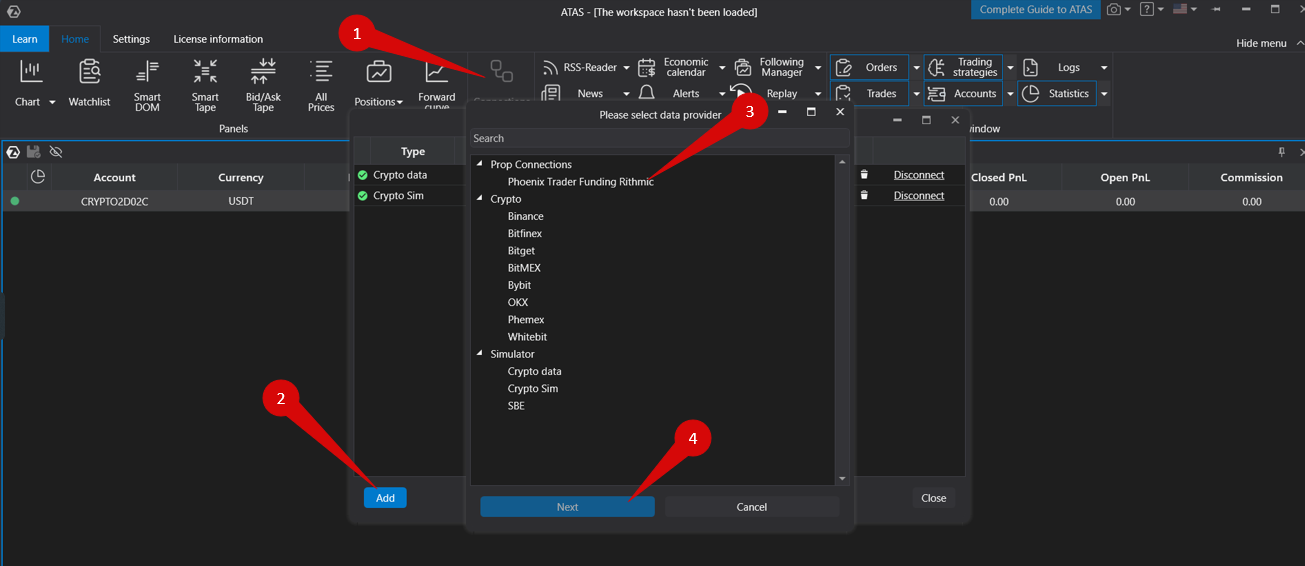
1. To connect your account, click on the «Connections» button in the main menu (1), then click the «Add» button (2).
2. On the next window, select Phoenix Trader Funding Rithmic (3), and click «Next» (4).
If you already have a license, you should use a Rithmic connection and choose Rithmic paper trading server.
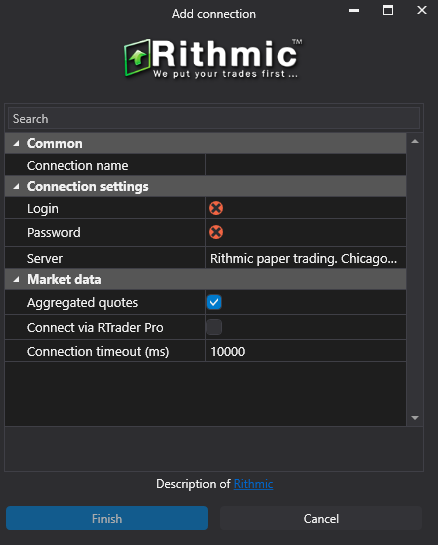
3. Enter your login and password provided by Phoenix Trader Funding and click «Finish».
dxFeed connection
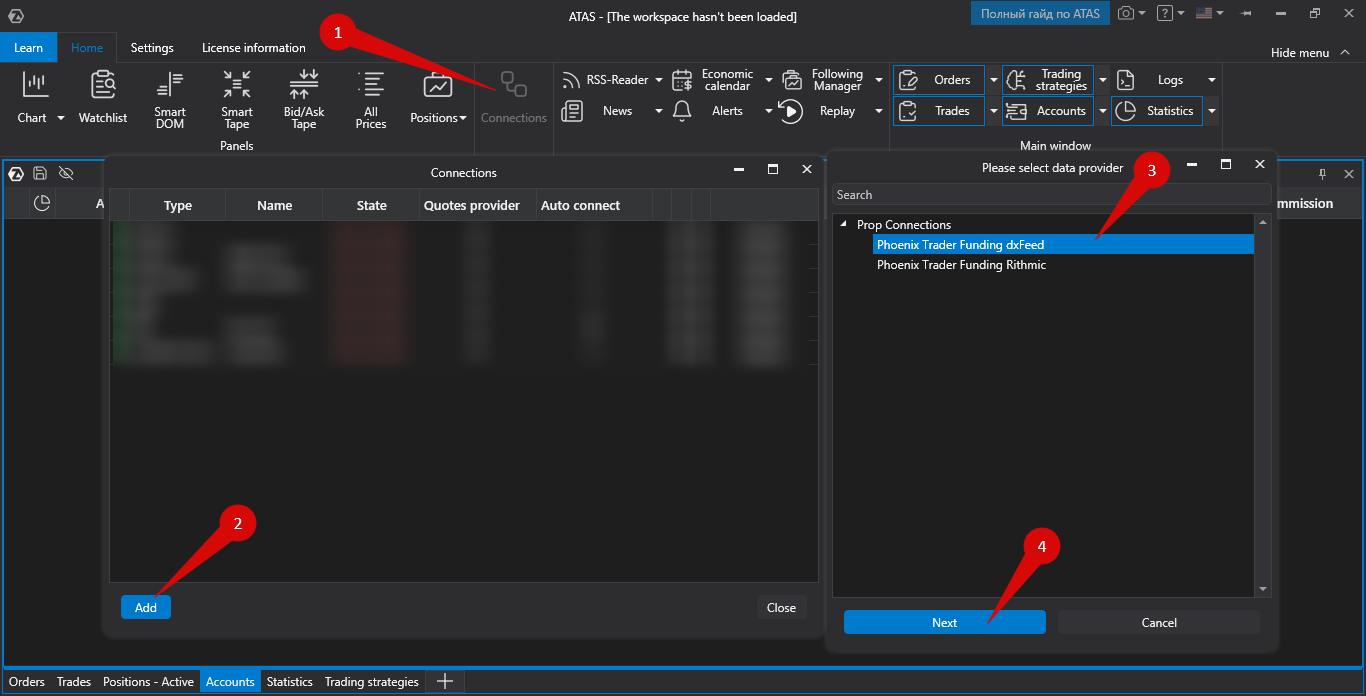
1. To connect your account, click on the «Connections» button in the main menu (1), then click the «Add» button (2).
2. On the next window, select Phoenix Trader Funding dxFeed (3), and click «Next» (4).
3. Enter the login and password for dxFeed Phoenix Trader Funding account.
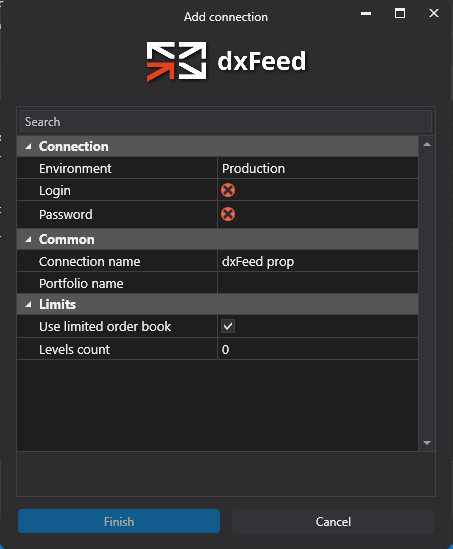
After configuring the connection, it will appear as a separate line in the list of connections:
You can read about the settings of this window by following the link: Connection Settings Window.
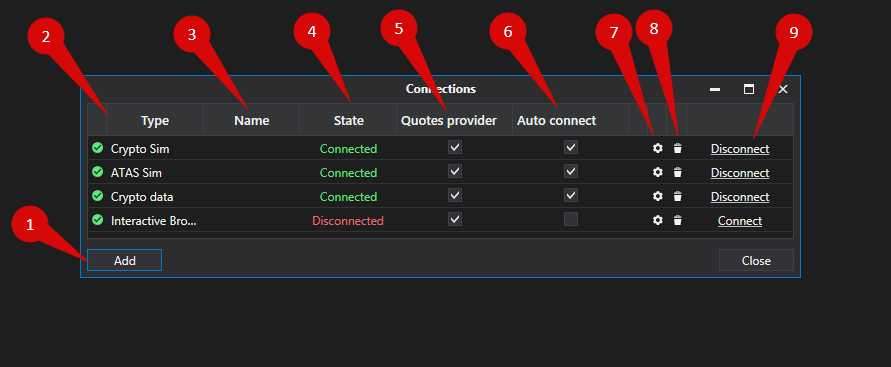
Add — add a new connection
Type — connection source
Name — the name of the connection, which you can set yourself
State — connection status
Is market data — option to choose a quote provider (this connection will be used as the quote provider)
Auto connect — if you want the connection to be established automatically when the platform starts, enable this option
Connection settings button
Delete — to remove the connection from the list button
Connect/Disconnect — connect/disconnect the connector
If you want to connect your account automatically every time you start the platform, check the box under the «Auto connect» column and click the «Connect» button.
All set. Your Phoenix Trader Funding account is now connected, and you can start evaluation!
No, all Phoenix accounts can be connected to this license.
Yes, you can use this license on SIMULATION-financed accounts, but if you switch to live financing, additional license fees will apply. That said, as long as you remain in a simulated trading environment, this license is free.